Garlic bread rolls are a beloved comfort food that can elevate any meal, and they’re surprisingly simple to make at home. With a golden crust and an aromatic, buttery filling, these rolls are the perfect complement to pasta dishes or soups. After countless successful batches in my kitchen, I’m excited to share this easy-to-follow recipe that infuses your home with mouthwatering scents.
Why Make This Recipe
- Flavor Explosion: The rich combination of garlic and herbs creates a savory delight that tantalizes your taste buds.
- Homemade Goodness: There’s nothing quite like the satisfaction of baking fresh bread rolls from scratch.
- Versatile Side Dish: Perfect for family dinners, gatherings, or even a cozy night in, these rolls fit any occasion.
- Nutritious Option: Using quality ingredients lets you control the flavors and health benefits, avoiding preservatives found in store-bought options.
- Personally, these rolls have been a go-to at holidays; they bring everyone together around the table, creating lasting memories.
Recipe Overview
- Prep Time: 20 minutes
- Cook Time: 20 minutes
- Total Time: 40 minutes
- Servings: 12 rolls
- Difficulty Level: Easy
- Cooking Method: Baking
These delightful rolls are prepared by mixing dough, allowing it to rise, and then baking until golden brown for a truly homemade experience.
My Experience Making This Recipe
I’ve made these garlic bread rolls numerous times, and each batch seems to bring a new discovery. The dough can be a bit temperamental when it comes to rising, especially in cooler kitchens. However, I’ve found that a warm spot, like the oven preheating at a low temperature, works wonders for the dough’s proofing.
How to Make Garlic Bread Rolls
To make homemade garlic bread rolls, you’ll start by preparing a simple dough using flour, yeast, butter, and garlic. After kneading, let the dough rise until it doubles in size. Once it’s ready, shape the dough into rolls, cover them for a second rise, and then bake until golden. The key techniques include kneading for elasticity and allowing adequate rise time for the perfect fluffy texture.
Expert Tips for Success
- Use Fresh Ingredients: Fresh garlic and good-quality butter can dramatically enhance the flavor of your rolls.
- Knead Properly: Aim for a smooth, elastic dough. Kneading for about 8-10 minutes helps develop gluten, giving your rolls a light texture.
- Monitor the Temperature: Keep the oven preheated to 375°F (190°C) for optimal baking.
- Steam for Crispness: Place a small pan of water in the oven to create steam, which can enhance the crust’s texture.
- Adjust for Altitude: If you are at a higher altitude, you may need to tweak the flour and yeast ratios slightly to achieve the right consistency.
How to Serve Garlic Bread Rolls
These rolls are fantastic when served warm, straight out of the oven. Pair them with a hearty marinara sauce for dipping or alongside a classic spaghetti dish. They also make an excellent addition to soups like minestrone or a creamy chowder. For a special touch, brush them with more garlic butter just before serving.
Storage and Reheating Guide
After cooling, store leftover rolls in an airtight container at room temperature for up to 3 days. If you plan to keep them longer, wrap them tightly in plastic wrap and freeze for up to 3 months. To reheat, simply pop them in a preheated oven at 350°F (175°C) for about 10 minutes or until warmed through. This helps restore their original texture.
Recipe Variations
- Gluten-Free: Substitute all-purpose flour with a gluten-free blend and ensure the yeast is gluten-free as well.
- Herb-Infused: Add fresh herbs like rosemary or thyme to the dough for an aromatic twist.
- Cheesy Rolls: Mix in shredded mozzarella or parmesan cheese for a delightful melty surprise in every bite.
- Dairy-Free: Replace butter with olive oil and use a non-dairy milk alternative to make these rolls dairy-free.
Nutritional Highlights
Garlic provides numerous health benefits, including antioxidants that boost immune function. These rolls are also a good source of carbohydrates for energy without excessive additives. However, keep in mind they contain gluten, so they’re not suitable for those with gluten intolerance.
Troubleshooting Common Issues
- Rolls Not Rising: If your rolls don’t rise, check if your yeast is active; it should be frothy when mixed with warm water.
- Dense Texture: Avoid over-kneading; it can make the rolls too tough. Aim for a balanced kneading time.
- Too Dry: If your dough is too dry, gradually add a bit of warm water or milk until you reach a workable consistency.
Frequently Asked Questions
-
What kind of yeast should I use?
Use active dry yeast for best results; it’s ideal for homemade bread. -
Can I let the dough rise in the fridge overnight?
Absolutely! This method, known as cold fermentation, can improve flavor and texture. -
What if I don’t have a stand mixer?
You can knead by hand! Just ensure you allocate a bit more time, as hand-kneading generally takes longer than using a mixer. -
Can I save leftover garlic butter for later?
Yes, store any leftover garlic butter in the fridge for up to a week, or freeze it for longer shelf life. Just reheat before using!
With these insights and tips, you’ll be on your way to making stunning garlic bread rolls that are sure to impress friends and family alike! Enjoy your baking journey!
Print
Garlic Bread Rolls
- Total Time: 40 minutes
- Yield: 12 rolls
- Diet: Vegetarian
Description
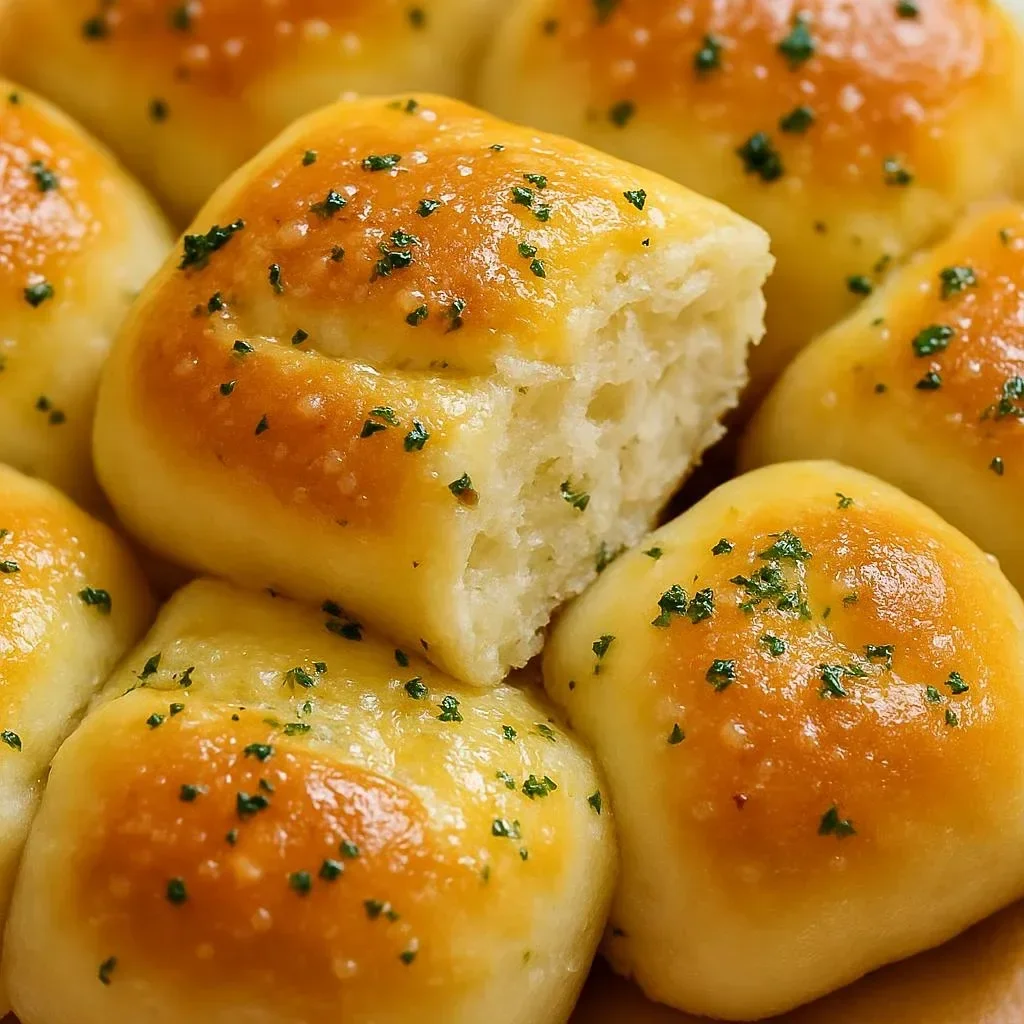
Delicious homemade garlic bread rolls with a golden crust and aromatic, buttery filling, perfect for complementing pasta or soups.
Ingredients
- 4 cups all-purpose flour
- 2 tablespoons active dry yeast
- 1 teaspoon salt
- 1 tablespoon sugar
- 1 cup warm water
- 1/2 cup unsalted butter, melted
- 4 cloves garlic, minced
- 1/4 cup chopped fresh parsley (optional)
Instructions
- In a bowl, dissolve sugar and yeast in warm water; let sit until frothy.
- Add melted butter, minced garlic, and salt to the mixture.
- Gradually add flour, mixing until a dough forms.
- Knead the dough on a floured surface for 8-10 minutes until smooth and elastic.
- Place dough in a greased bowl, cover, and let rise until doubled in size (about 1 hour).
- Preheat the oven to 375°F (190°C).
- Divide the dough into 12 equal pieces, shape them into rolls, and place on a baking sheet.
- Cover and let rise for a second time until puffy (about 30 minutes).
- Bake for 20 minutes or until golden brown.
- Brush with garlic butter before serving.
Notes
Store leftovers in an airtight container at room temperature for up to 3 days, or freeze for up to 3 months.
- Prep Time: 20 minutes
- Cook Time: 20 minutes
- Category: Side Dish
- Method: Baking
- Cuisine: Italian