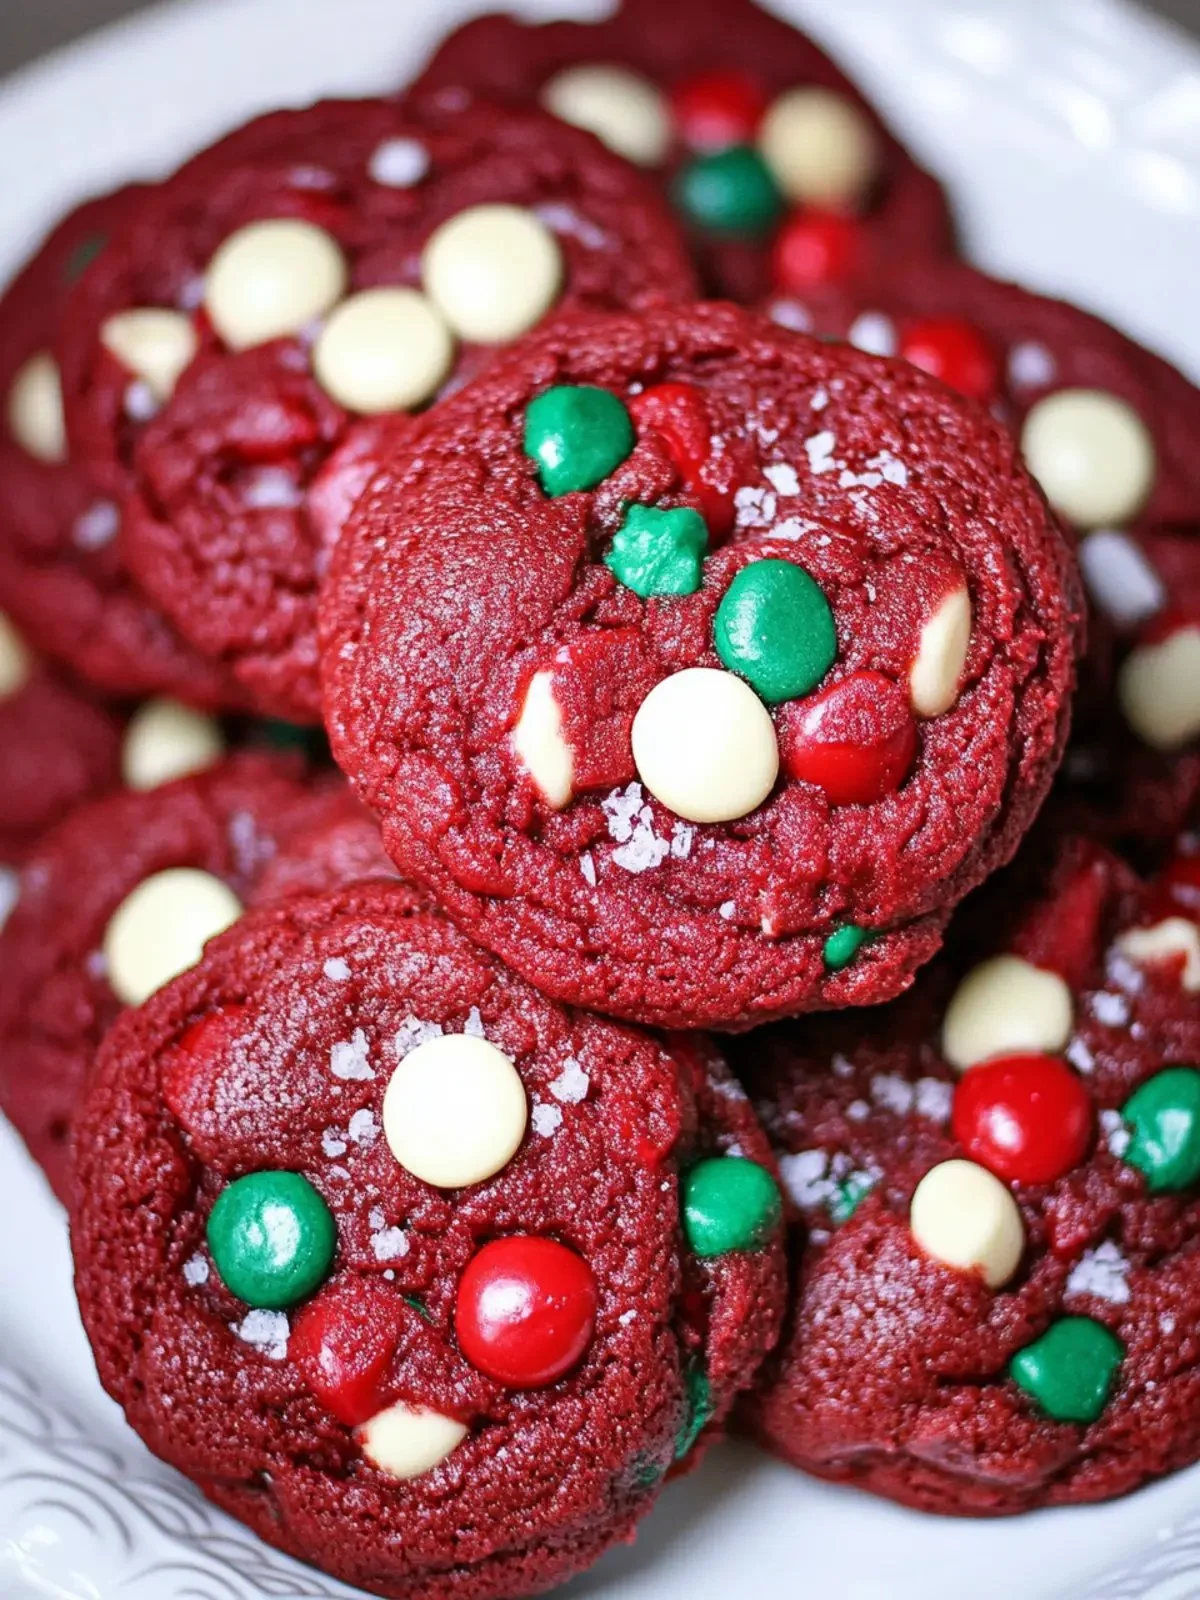
Santa’s Red Velvet Cookies are soft, festive red cookies finished with creamy white frosting or a dusting of powdered sugar — they look like holiday snowballs with a cake-like crumb. I’ve baked and tweaked this cookie many seasons, dialing in the right balance of cocoa, tang, and moisture for a reliably tender bite. If you enjoy riffing on red velvet treats, you might also like this Red Velvet Cheesecake Stuffed Cookies for an extra-special holiday surprise.
Why Make This Recipe
- They have a tender, cake-like texture with a mild cocoa flavor and vibrant color that makes them perfect for holiday platters.
- The cookies are quick to shape and bake — great for cookie exchanges and last-minute baking.
- They pair beautifully with cream cheese frosting or white chocolate, giving a creamy contrast to the cocoa notes.
- You can make the dough ahead and freeze it, which saves time on busy baking days.
- Personal insight: I love these because the tang from the vinegar and buttermilk keeps the crumb soft and unexpected — it makes the cookie taste homemade, not packaged. Also try a contrasting twist like the Black Velvet Cake with Fiery Red Icing if you want dramatic color contrast.
Recipe Overview
- Prep time: 20 minutes (plus 30–60 minutes chilling)
- Cook time: 9–12 minutes per batch at 350°F (175°C)
- Total time: about 1 hour (including chilling)
- Servings: 24–30 cookies (1 tablespoon dough per cookie)
- Difficulty: Easy — basic creaming and scoop-and-bake technique
- Method: Cream butter and sugar, beat in wet ingredients, fold dry ingredients, chill briefly, scoop and bake at 350°F.
My Experience Making This Recipe
I tested this recipe across several ovens and adjusted baking times to prevent overbaking while keeping a soft center. I learned that chilling the dough for 30 minutes helps the cookies hold a gentle domed shape rather than flattening out. Swapping gel food coloring for liquid improved color without thinning the dough.
How to Make Santa’s Red Velvet Cookies
Start by creaming 8 tablespoons (1 stick) unsalted butter with 3/4 cup granulated sugar until light — about 2–3 minutes with a stand mixer. Add 1 large egg and 1 teaspoon vanilla, then whisk in 2 tablespoons cocoa powder, 1 tablespoon red gel food coloring, 1/2 cup buttermilk, 1 teaspoon white vinegar, 1 1/2 cups all-purpose flour, 1 teaspoon baking soda, and 1/2 teaspoon salt. Chill the dough 30–60 minutes to firm it up, then scoop 1 tablespoon portions onto a parchment-lined sheet and bake at 350°F (175°C) for 9–12 minutes until edges are set but centers are soft. Cool 5 minutes on the baking sheet, then transfer to a rack and finish with cream cheese frosting, white chocolate chips, or a light dusting of powdered sugar.
Expert Tips for Success
- Use gel food coloring instead of liquid to get vivid red without altering dough hydration; start with 1 tablespoon and add a little more if needed.
- Cream butter and sugar fully (2–3 minutes) to incorporate air for a lighter texture, but stop once they’re pale — overbeating can collapse structure.
- Chill the dough 30–60 minutes; this firms the butter so cookies bake up thicker and develop better flavor. For equipment, use a 1-tablespoon cookie scoop for uniform cookies and an oven thermometer to ensure an accurate 350°F.
- Measure flour by spooning into the cup and leveling with a knife — packed flour makes dense cookies.
- If you frost with cream cheese frosting, chill cookies first so the frosting holds shape; to avoid bleeding, use a stabilized frosting (add 1 tablespoon cornstarch or 1/2 cup powdered sugar to firm it).
(If you want red velvet breakfast ideas after baking, see this Red Velvet French Toast twist.)
How to Serve Santa’s Red Velvet Cookies
- Arrange on a festive platter with sprigs of rosemary (it looks like pine) and dust with powdered sugar for a snowy effect.
- Serve warm with a dollop of cream cheese frosting or white chocolate drizzle for parties and cookie swaps.
- Pair with hot cocoa, coffee, or a glass of cold milk — the tangy frosting balances rich drinks.
- For a gift, stack 4–6 cookies in a clear bag tied with ribbon and a personal note.
(For other red velvet-inspired bakes, try these Red Velvet Brookies.)
Storage and Reheating Guide
Store cooled cookies in an airtight container at room temperature for up to 3 days. If frosted with cream cheese, keep them refrigerated up to 5–7 days in a covered container. To freeze: place unfrosted dough balls on a tray, freeze until solid, then transfer to a freezer bag for up to 3 months; bake from frozen adding 1–2 minutes to bake time. To reheat baked cookies: warm in a 325°F (160°C) oven for 5–7 minutes or microwave one cookie for 8–10 seconds to revive softness without making them soggy.
Recipe Variations
- Gluten-free: Replace all-purpose flour with a 1:1 gluten-free baking blend that contains xanthan gum; chill dough longer for structure.
- Dairy-free: Use vegan butter (stick form) and a dairy-free milk mixed with 1 teaspoon lemon juice as buttermilk substitute; use dairy-free cream cheese for frosting.
- Extra-chocolate: Stir in 1/3 cup mini white chocolate chips or dark chocolate chunks for texture contrast.
- Santa hat cookies: Top each baked cookie with a small swirl of cream cheese frosting and a mini marshmallow or white chocolate drop to look like a Santa hat.
Nutritional Highlights
- These cookies are an occasional treat — expect each cookie to contain sugar, butter (saturated fat), and refined flour.
- The recipe provides small amounts of cocoa, which has antioxidants, and using buttermilk adds a little protein and tang.
- Allergen note: contains wheat, eggs, and dairy (unless adapted). Serve portion-controlled sizes — one cookie as a typical indulgent serving.
Troubleshooting Common Issues
- Cookies spread too thin: The butter was too soft or dough wasn’t chilled. Chill 30–60 minutes and bake again.
- Dry, crumbly cookies: You overbaked or used too much flour. Reduce bake time by 1–2 minutes and measure flour correctly.
- Red color looks brown after baking: Use gel coloring and avoid overbaking; also increase 1–2 teaspoons of coloring if needed for a brighter hue.
Frequently Asked Questions
Q: Can I make the dough ahead and freeze it?
A: Yes — scoop dough onto a tray, freeze until solid, then store in a freezer-safe bag up to 3 months. Bake from frozen; add 1–2 minutes to the bake time and watch for a set edge.
Q: How do I prevent bleeding of red dye into white frosting?
A: Use gel food coloring to minimize bleed and chill cookies before frosting. Stabilize cream cheese frosting with a little powdered sugar or cornstarch and apply a thin crumb coat, then chill again before finishing decorations.
Q: Can I skip the buttermilk and vinegar?
A: You can substitute 1/2 cup plain yogurt or milk mixed with 1 tablespoon lemon juice (let sit 5 minutes). The acid reacts with baking soda to help rise and adds tang, so don’t omit entirely unless you adjust leavening.
Q: What’s the best way to get a soft center every time?
A: Pull cookies when edges are set but centers still look slightly underdone — carryover heat finishes them. Cool on the baking sheet for 5 minutes before moving to a rack; that preserves a tender interior.
Conclusion
For a quick, crowd-pleasing version and step-by-step inspiration, check out this Santa Red Velvet Cookies: Quick and Delicious Recipe (https://www.thebakingchocolatess.com/red-velvet-santa-cake-mix-cookies/).
Print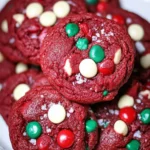
Santa’s Red Velvet Cookies
- Total Time: 60 minutes
- Yield: 24–30 cookies
- Diet: Vegetarian
Description
Soft, festive red cookies finished with creamy white frosting or powdered sugar, perfect for holiday platters.
Ingredients
- 8 tablespoons (1 stick) unsalted butter, softened
- 3/4 cup granulated sugar
- 1 large egg
- 1 teaspoon vanilla extract
- 2 tablespoons cocoa powder
- 1 tablespoon red gel food coloring
- 1/2 cup buttermilk
- 1 teaspoon white vinegar
- 1 1/2 cups all-purpose flour
- 1 teaspoon baking soda
- 1/2 teaspoon salt
Instructions
- Cream butter and sugar together until light and fluffy, about 2–3 minutes.
- Add egg and vanilla extract, mixing until combined.
- Whisk in cocoa powder, red gel food coloring, buttermilk, and vinegar.
- Gradually fold in the all-purpose flour, baking soda, and salt until just combined.
- Chill the dough for 30–60 minutes to firm it up.
- Scoop 1 tablespoon of dough onto a parchment-lined baking sheet.
- Bake at 350°F (175°C) for 9–12 minutes until edges are set but centers remain soft.
- Cool on the baking sheet for 5 minutes before transferring to a rack.
- Finish with cream cheese frosting, white chocolate chips, or a dusting of powdered sugar.
Notes
Use gel food coloring for vibrant color without altering dough consistency. A chilled dough results in thicker cookies.
- Prep Time: 20 minutes
- Cook Time: 12 minutes
- Category: Dessert
- Method: Baking
- Cuisine: American