why make this recipe
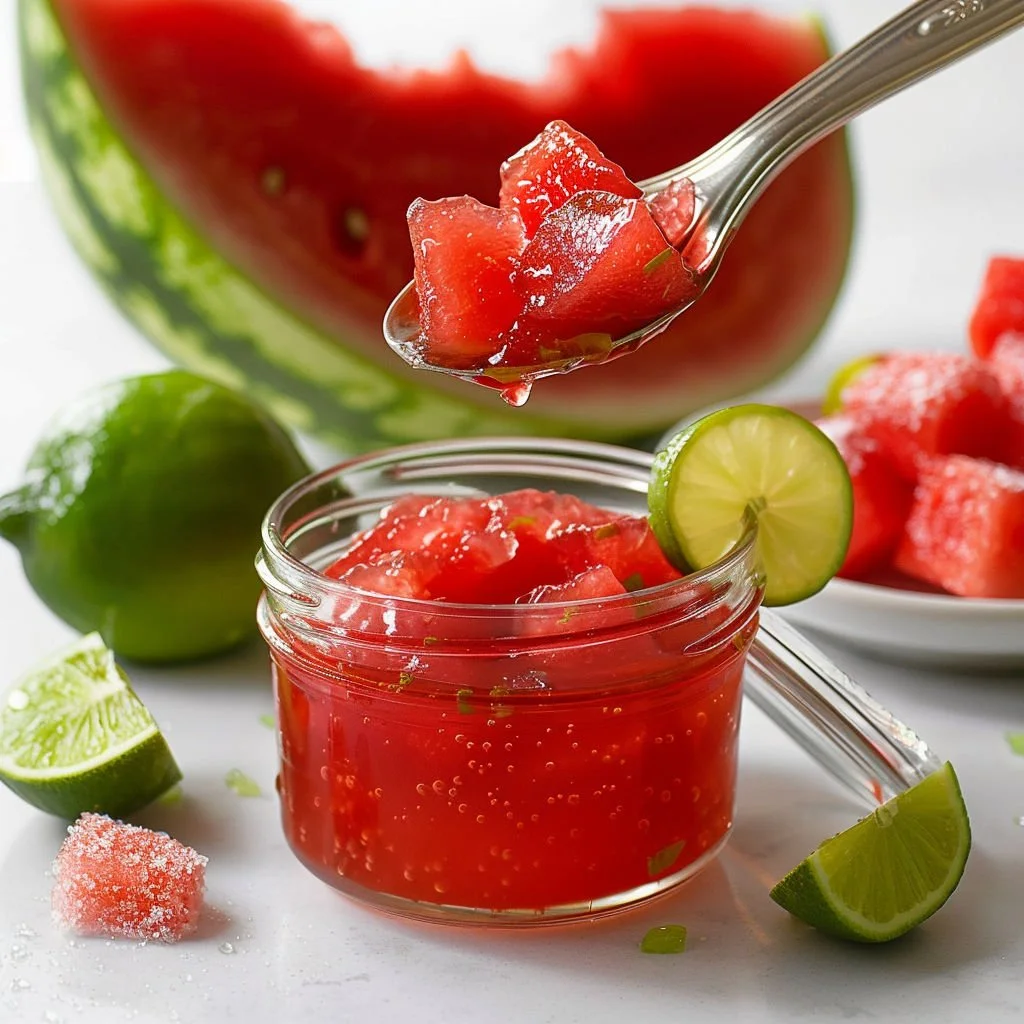
Watermelon Lime Jelly Preserves are a delightful treat that captures the bright flavors of summer. The combination of sweet watermelon and zesty lime creates a unique taste that’s perfect for spreading on toast, adding to desserts, or even mixing into drinks. Plus, making your own preserves lets you control the ingredients and avoid the preservatives often found in store-bought options. It’s a fun project that can bring friends and family together, and the result is a tasty preserve that you can enjoy long after the watermelon season has ended.
how to make Watermelon Lime Jelly Preserves
Ingredients:
- 1.5–2 kilograms seedless watermelon, rind removed and chopped
- 400–600 grams white granulated sugar
- 120 milliliters bottled lime juice or 180 milliliters freshly squeezed lime juice
- 1 box (approx. 49 grams) Sure Jell Low Sugar Pectin
Directions:
- Process chopped watermelon in a blender until fully puréed and smooth.
- Strain the purée through a fine mesh sieve lined with cheesecloth or a jelly strainer bag into a large bowl or jug.
- Measure 950 milliliters (4 cups) of strained watermelon juice; reserve any excess juice for another use.
- Transfer the measured watermelon juice to a saucepan. Add lime juice and pectin. Whisk thoroughly over high heat and bring the mixture to a boil.
- Boil the juice-pectin-lime mixture for 1 minute while whisking constantly.
- Gradually whisk in the sugar, stirring to dissolve. Bring the mixture back to a full rolling boil and cook for 1 additional minute.
- Carefully ladle the hot jelly mixture into sterilized jars, leaving 6 millimeters (1/4 inch) headspace at the top of each jar.
- Wipe jar rims and sides with a clean kitchen towel. Secure lids and rings until fingertip tight.
- Allow jars to cool at room temperature. Jelly will thicken and set over 12–24 hours. Refrigerate and enjoy within 3 weeks if not canning.
- For shelf storage, process sealed jars in a hot water canner for 10 minutes (15 minutes above 1,800 meters elevation). Transfer to a towel-lined surface, leaving 2.5 centimeters between jars. Once cooled, check seals. Refrigerate any unsealed jars; store sealed jars in a cool, dry place for up to 18 months.
how to serve Watermelon Lime Jelly Preserves
You can serve Watermelon Lime Jelly Preserves in several ways. Spread it on crusty bread or toast for a sweet breakfast treat. It also makes a great filling for cakes or pancakes. You can stir it into yogurt for a refreshing snack or use it as a topping for ice cream. Additionally, try mixing it into cocktails or homemade lemonade for a fruity twist.
how to store Watermelon Lime Jelly Preserves
If you have not canned the jelly, store it in the refrigerator. Make sure to consume it within three weeks. For those preserved jars that you processed, store them in a cool, dry place. They can last up to 18 months if sealed properly. Always check seals before using and refrigerate any jars that do not seal correctly.
tips to make Watermelon Lime Jelly Preserves
- Use ripe, sweet watermelon for the best flavor.
- When measuring lime juice, freshly squeezed adds a brighter flavor but bottled works too.
- Make sure your jars are properly sterilized before filling them for safe storage.
- For a stronger lime flavor, consider adding a bit more lime juice.
- If you like a sweeter preserve, adjust the amount of sugar to your taste.
variation
For a twist, you can add mint leaves to the jelly during the cooking process for a refreshing minty flavor. Alternatively, consider mixing in other fruits, like strawberries or raspberries, to create a mixed fruit preserve.
FAQs
1. Can I use frozen watermelon to make this jelly?
Yes, you can use frozen watermelon. Just thaw it and drain any excess water before pureeing it.
2. What if my jelly doesn’t set?
If the jelly doesn’t set, it may need more pectin. You can reheat the jelly, add more pectin, and boil it again to help it thicken.
3. Can I double the recipe?
Yes, you can double the recipe, but it’s best to do it in smaller batches to ensure even cooking and proper setting.

Watermelon Lime Jelly Preserves
- Total Time: 45 minutes
- Yield: 4 cups
- Diet: Vegetarian
Description
A delightful preserve capturing the bright flavors of watermelon and zesty lime, perfect for spreading on toast or adding to desserts.
Ingredients
- 1.5–2 kilograms seedless watermelon, rind removed and chopped
- 400–600 grams white granulated sugar
- 120 milliliters bottled lime juice or 180 milliliters freshly squeezed lime juice
- 1 box (approx. 49 grams) Sure Jell Low Sugar Pectin
Instructions
- Process chopped watermelon in a blender until fully puréed and smooth.
- Strain the purée through a fine mesh sieve lined with cheesecloth or a jelly strainer bag into a large bowl or jug.
- Measure 950 milliliters (4 cups) of strained watermelon juice; reserve any excess juice for another use.
- Transfer the measured watermelon juice to a saucepan. Add lime juice and pectin. Whisk thoroughly over high heat and bring the mixture to a boil.
- Boil the juice-pectin-lime mixture for 1 minute while whisking constantly.
- Gradually whisk in the sugar, stirring to dissolve. Bring the mixture back to a full rolling boil and cook for 1 additional minute.
- Carefully ladle the hot jelly mixture into sterilized jars, leaving 6 millimeters (1/4 inch) headspace at the top of each jar.
- Wipe jar rims and sides with a clean kitchen towel. Secure lids and rings until fingertip tight.
- Allow jars to cool at room temperature. Jelly will thicken and set over 12–24 hours. Refrigerate and enjoy within 3 weeks if not canning.
- For shelf storage, process sealed jars in a hot water canner for 10 minutes (15 minutes above 1,800 meters elevation). Transfer to a towel-lined surface, leaving 2.5 centimeters between jars. Once cooled, check seals. Refrigerate any unsealed jars; store sealed jars in a cool, dry place for up to 18 months.
Notes
Use ripe, sweet watermelon for the best flavor. Fresh lime juice yields a brighter taste, but bottled works too.
- Prep Time: 30 minutes
- Cook Time: 15 minutes
- Category: Preserve
- Method: Canning
- Cuisine: American